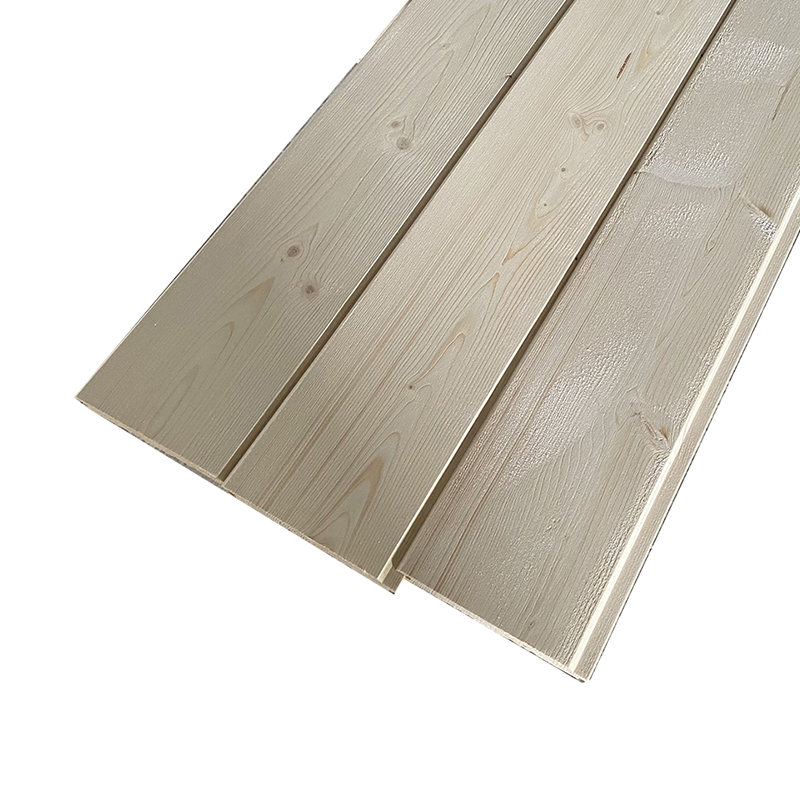
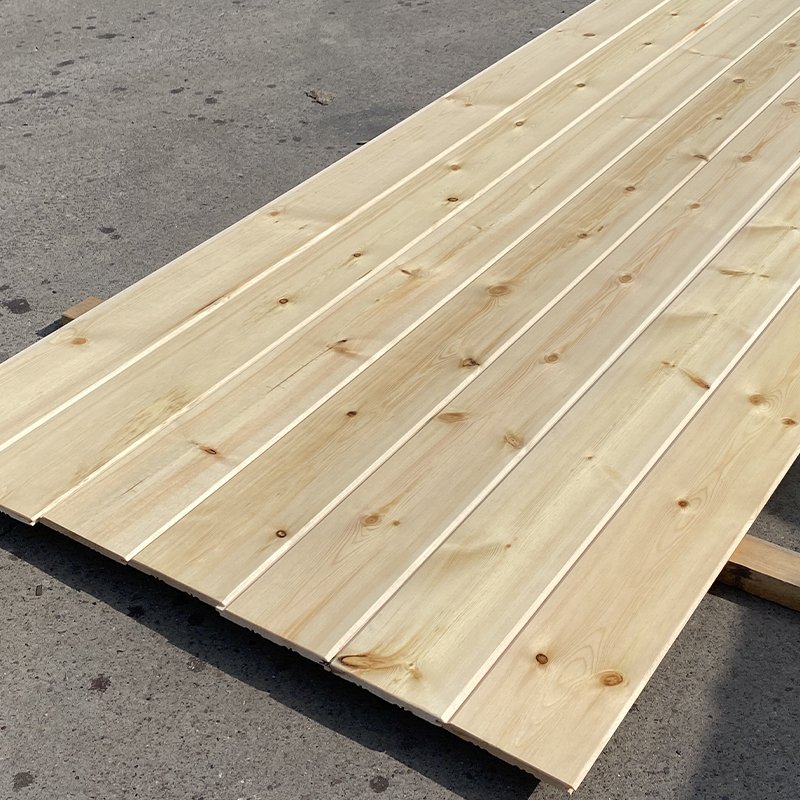
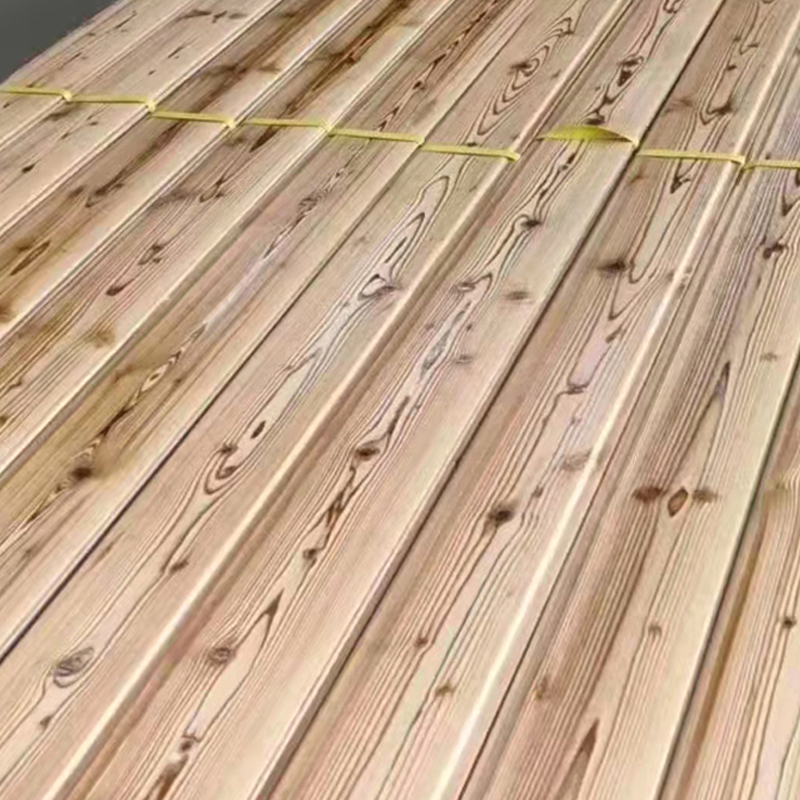
Wood slat wall panels have earned a permanent place in modern interiors. They bring texture, warmth, and acoustic comfort to living rooms, offices, and feature walls without requiring a full renovation. If you have been searching for a clear and practical answer to the question of wood slat wall panel how to install, this guide walks you through every stage, from choosing the right product to the final wipe-down.
 Wood Slat Wall Panels: Textured Acoustic CladdingExplore modular timber panels that bring warmth and sound softening to walls, with tongue-and-groove joints and simple glue or nail installation for any room.View Product →
Before you pick up a saw, it helps to understand what you are working with. A typical wood slat wall panel consists of vertical or horizontal timber slats fixed to a backing board. The slats create a rhythmic surface that softens sound and adds dimension to flat walls. Most panels are machined to consistent tolerances at the factory, so installation becomes a matter of careful layout rather than improvisation.
Tools and Materials You Will Need
Good preparation saves time and prevents frustrating rework. Lay everything out before you begin so you can move from one step to the next without interruptions.
Essential tools and materials for installing wood slat wall panels
| Category |
Items |
Why It Matters |
| Measuring and layout |
Tape measure, laser level, pencil, chalk line |
Ensures straight rows and consistent spacing |
| Cutting |
Miter saw or circular saw, fine-tooth blade, sandpaper |
Clean cuts reduce visible joints and splintering |
| Fixing |
Construction adhesive, pin nailer or finish nails, screws |
Holds panels firmly and prevents creaking over time |
| Finishing |
Wood filler, touch-up marker, damp cloth |
Hides nail holes and gives a polished end result |
You may also want a step stool, good lighting, and a helper for long panels that are awkward to handle alone.
Preparing the Wall and the Panels
Check the wall condition
Wood slat panels are only as straight as the surface behind them. Use a long straightedge or a level to check for dips and bumps. Fill minor imperfections with filler, sand smooth, and wipe away dust. If you are installing over drywall, confirm the stud locations with a stud finder; over masonry or tile, you will need appropriate adhesive and possibly furring strips.
Let the wood acclimate
Wood moves with humidity. Store the panels in the room where they will be installed for at least 48 hours before starting. This allows the timber to reach a stable moisture content and reduces the risk of gaps or warping after installation.
Plan the layout first
Before you cut anything, establish your layout. A quick formula to work out how many panels fit across a wall is to divide the wall width plus the slat gap by the panel width plus the slat gap. Mark the wall with a chalk line so your starting point is square, and remember that the first panel you place dictates the alignment for the whole run.
How to Install Wood Slat Wall Panels: Step-by-Step
The process below covers a standard wall installation. The same principles apply whether you are covering an entire room or creating a single accent wall.
- Measure the wall and plan the layout. Divide the wall width by the panel width, including the gap between slats, to work out how many panels you need. Mark the starting point so the first and last panels look balanced.
- Cut the panels to length. Measure each panel against its intended position rather than relying on a single wall measurement, because floors and ceilings are rarely perfectly level. Use a fine-tooth blade and sand any cut edges lightly.
- Dry-lay the first row. Position the panels without adhesive to check spacing and alignment. Use offcuts as temporary spacers to keep the gaps consistent.
- Apply adhesive. Run a zigzag bead of construction adhesive on the back of the first panel. Avoid applying too much, as squeeze-out is messy and hard to clean once dry.
- Fix the panel to the wall. Press the panel into place and use a pin nailer or finish nails at the top and bottom edges. Nail into studs wherever possible for a stronger hold.
- Continue panel by panel. Work along the wall, keeping the top edge level and the gaps even. Check every few panels with a level rather than trusting the ceiling line.
- Cut around obstacles. For electrical outlets and light switches, measure carefully and cut the opening before mounting the panel. Turn off the power while cutting and fitting around sockets.
- Fill and touch up. After the adhesive cures, fill nail holes with wood filler that matches the panel colour. Wipe the surface with a damp cloth to remove dust and fingerprints.
Take your time with the first few panels; the rhythm of the wall becomes obvious once the first row is straight.
Finishing Touches and Common Mistakes
Corners, edges, and trims
Where the wall meets a corner or a window reveal, cut the last panel to fit rather than forcing a full panel into a narrow gap. If the edge of the backing board is visible, cover it with a timber trim or a piece of moulding for a clean transition. For a softer look, you can also end the slat run mid-wall with a shadow gap instead of a trim.
Mistakes to avoid
- Skipping acclimation, which often leads to unsightly gaps after a few weeks.
- Nailing near the slat edge, which can split the wood; place fixings closer to the slat centre or into the backing board.
- Ignoring the flatness of the wall, so the panels rock or bow at certain points.
- Cutting all panels to the same length without measuring each position.
- Using too much adhesive, which can bleed through the slat gaps and ruin the finish.
If a slat gets damaged during installation, swap it out rather than trying to hide the mark.
Accent Ideas with Treated Wood Panels
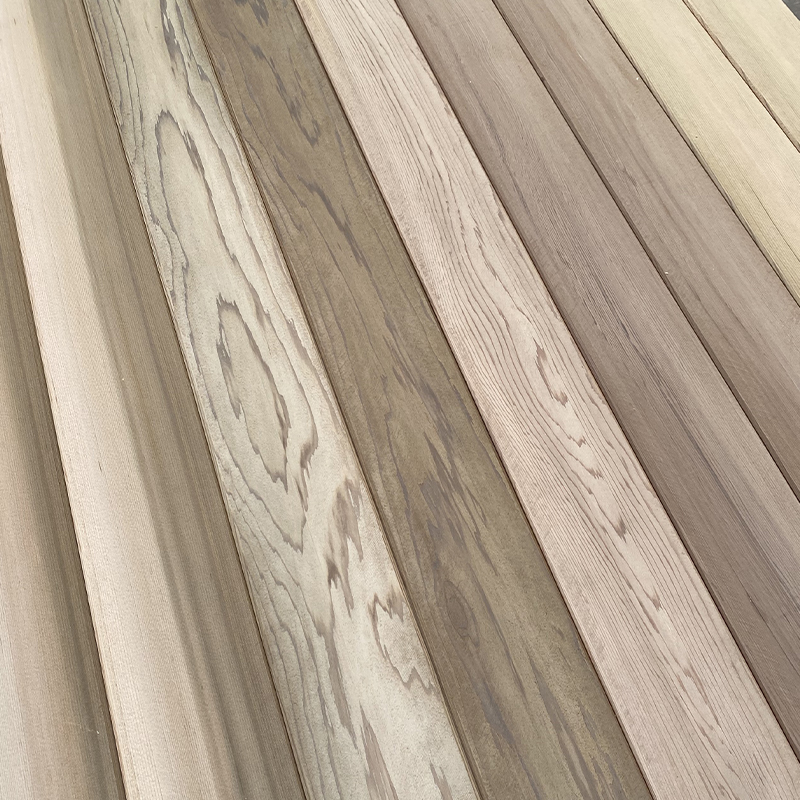
If you want to move beyond a natural timber look, thermally treated panels offer interesting alternatives. Charred or carbonised surfaces create a deep, dramatic texture that pairs well with soft lighting, and they require very little maintenance once installed.
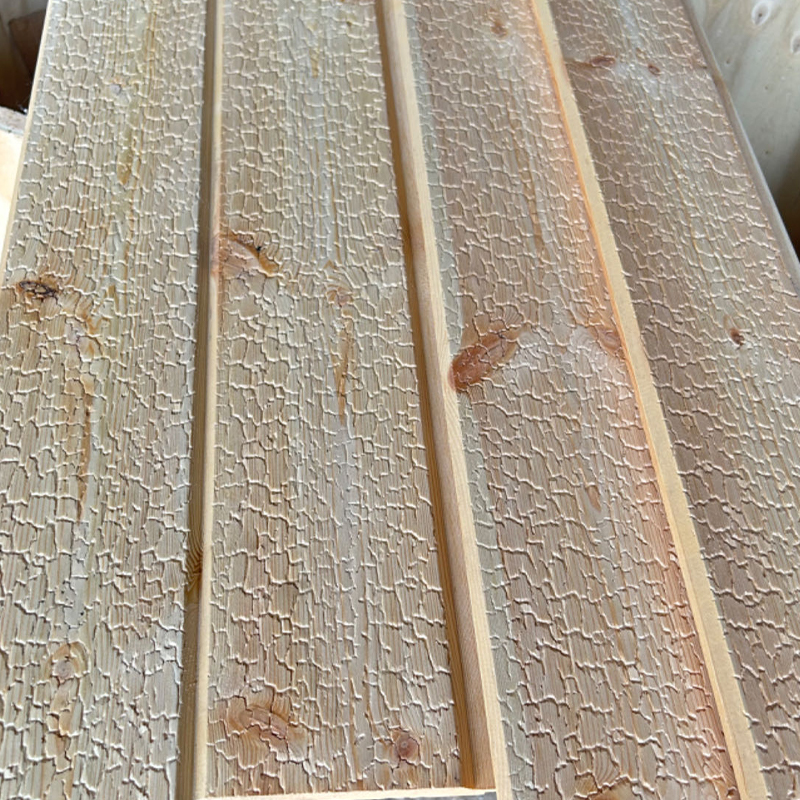 Shou Sugi Ban Charred Wood Wall PanelsA dramatic, low-maintenance option with charred surfaces from deep black to smoky gray, offering durability and fire resistance using the same easy installation methods.View Product →
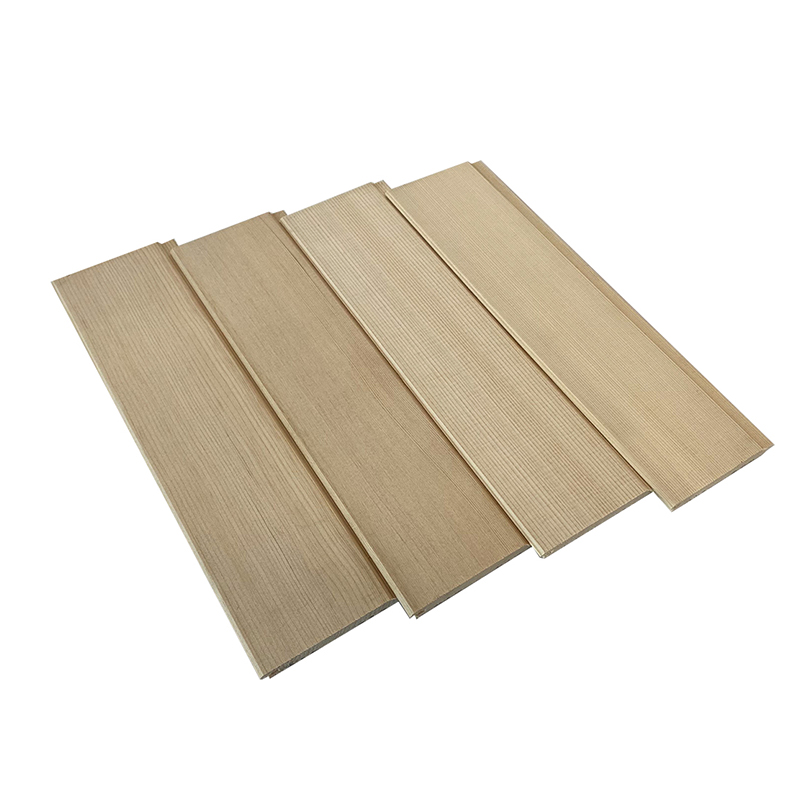
For projects that call for a darker, more uniform tone, carbonised wood wall panels are worth considering. They can be installed using the same methods described above, so no additional skills are needed once you have mastered the basics.
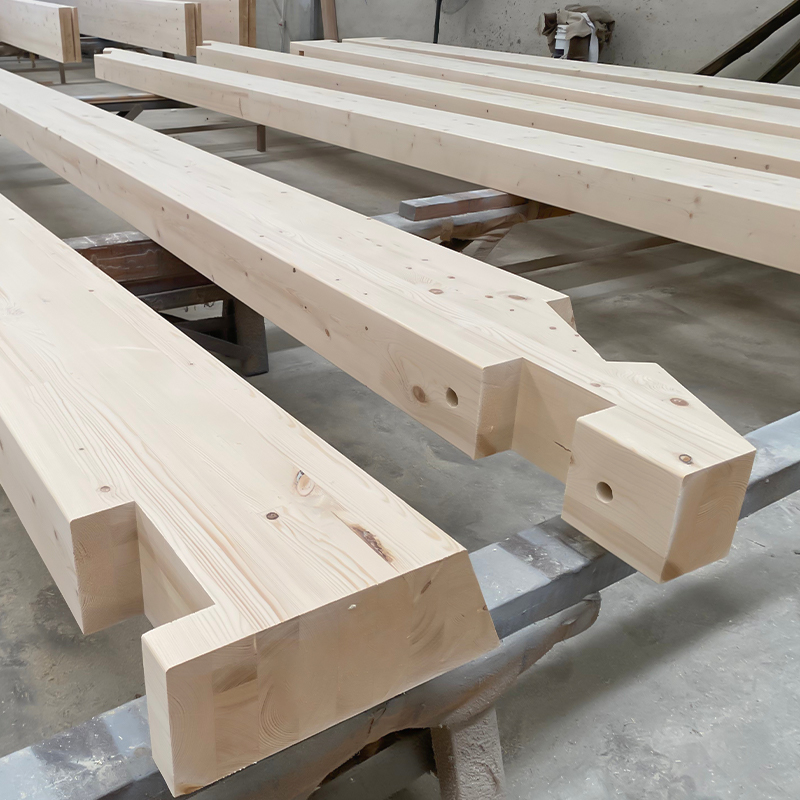 Carbonized Wood Wall Panels for Darker TonesMoisture- and pest-resistant panels with a rich, dark finish, perfect for accent walls or cladding and installed just like other timber boards for seamless results.View Product →
If you prefer a more traditional panelled look, tongue and groove boards are another route to a textured wall. The installation principles overlap, and our detailed breakdown of tongue and groove wall panel installation covers the differences in fixings and edge treatment.
Caring for Your Wood Slat Wall
Once your wood slat wall panels are in place, maintenance is straightforward. Dust the surface regularly with a soft brush attachment on your vacuum or a microfiber cloth. Avoid soaking the wood with water; a lightly damp cloth is enough for stubborn marks. In rooms with high humidity, such as a kitchen or bathroom, ensure the room is ventilated so moisture does not settle on the slats. If the wall receives strong direct sunlight, consider sheer curtains or blinds to slow down colour change over the years.
Installing wood slat wall panels is a weekend-friendly project when you take time with the preparation. Measure carefully, let the wood settle in the room, and fix each panel with the same attention to level and spacing, and the result will look as if it was fitted by a professional team.
If you have questions about panel dimensions, wood species, or a custom layout for your space, our team is happy to help. Contact us with your project details, and we will point you toward the right product and quantity.



 English
 한국어
 Español