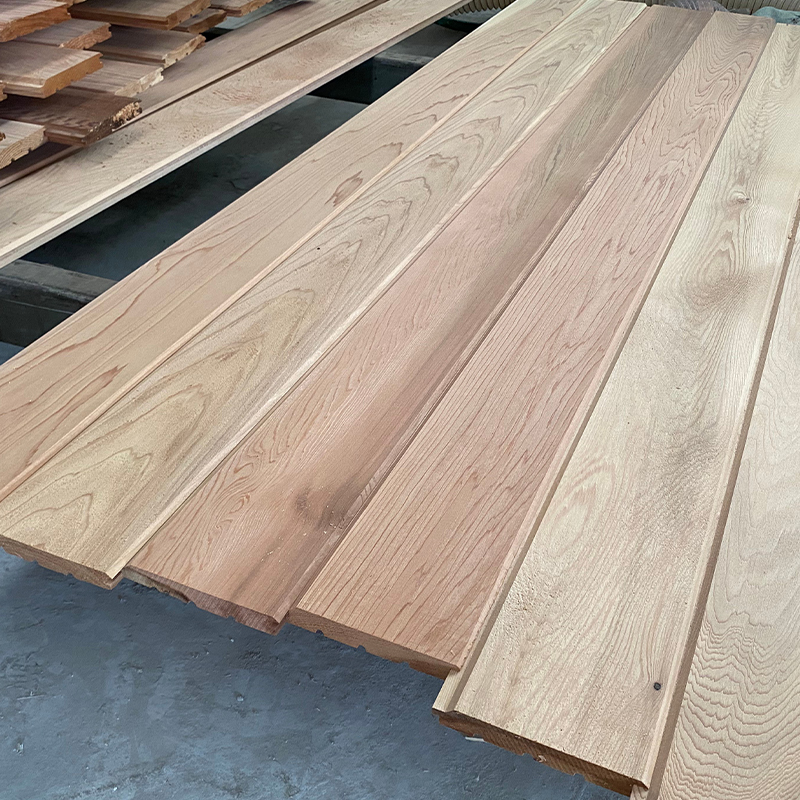
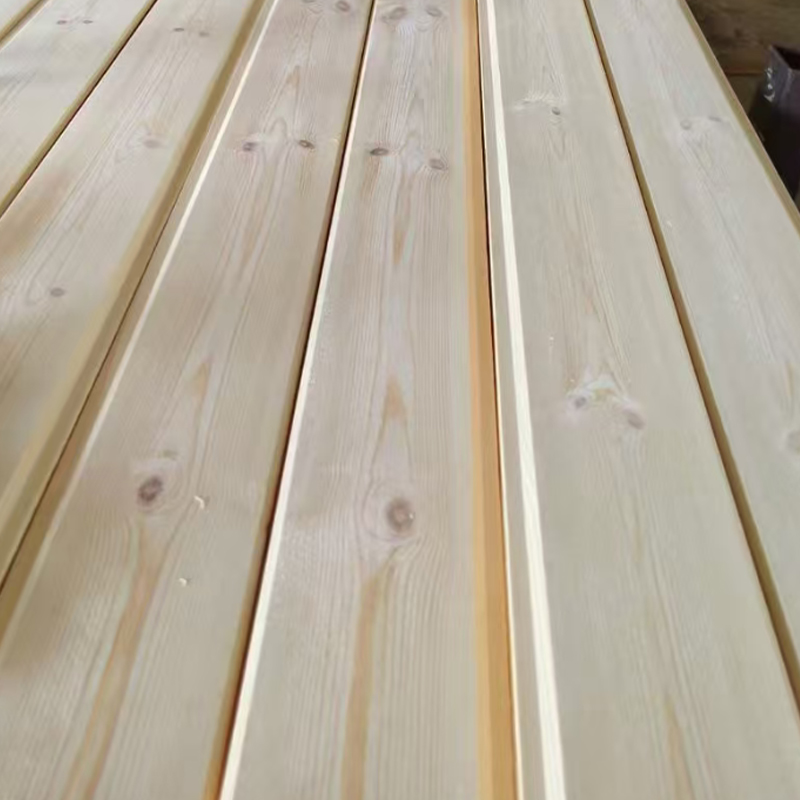
A well-planned wood decking setup transforms an ordinary backyard into a durable, beautiful outdoor living space. Whether you're building from scratch or replacing worn-out boards, understanding every stage — from material selection to final sealing — is what separates a deck that lasts decades from one that warps or rots within a few years.
Despite the growing popularity of composite alternatives, natural wood decking continues to be a preferred option for homeowners who value warmth, authenticity, and value for money. Wood has an organic character that composites struggle to replicate: it accepts stains in countless tones, weathers gracefully when maintained, and carries a tactile quality underfoot that synthetic boards simply cannot match.
Beyond aesthetics, a properly set-up wood deck can add meaningful value to a property. According to real estate data, a quality outdoor deck consistently delivers a return on investment of between 65% and 80% of the build cost — making it one of the smarter home improvement projects available.
Choosing the Right Wood for Your Deck
The foundation of a successful wood decking setup is species selection. Not all timber performs equally outdoors. Exposure to UV light, moisture cycles, foot traffic, and insects demands a wood that is structurally stable and naturally resistant to decay.
Pressure-Treated Pine
Budget-Friendly
The most widely used decking lumber in North America. Chemical treatment makes it resistant to rot and insects. Best sealed or painted to extend lifespan beyond 15–20 years.
Western Red Cedar
Natural Resistance
Naturally rich in oils that repel moisture and insects. Lightweight, easy to work with, and visually stunning. Requires periodic oiling to retain its warm reddish tone.
Redwood
Premium
An iconic decking timber prized for its beauty and tannin-rich composition that naturally resists decay. Sustainably sourced options are increasingly available in Western markets.
Ipe (Brazilian Walnut)
Exotic Hardwood
Exceptionally dense and hard-wearing with a lifespan that can exceed 40 years. Naturally resistant to fire, insects, and rot — but requires pre-drilling and sharp tools to install.
Cumaru
Exotic Hardwood
Similar in density to Ipe but slightly more affordable. Its striking golden-brown colour deepens with age. Excellent for high-traffic decks needing a tough, attractive surface.
Douglas Fir
Structural Favourite
Commonly used for the framing and substructure of decks. Strong, straight-grained, and widely available. Less suited as a decking surface unless treated and sealed thoroughly.
Sustainability tip: When buying tropical hardwoods such as Ipe or Cumaru, always look for FSC (Forest Stewardship Council) certification to ensure the timber comes from responsibly managed forests.
Planning Your Wood Decking Setup
Thorough planning prevents the most common and costly mistakes. Before a single board is cut, you need a clear picture of the site conditions, structural requirements, and regulatory landscape.
Site Assessment and Local Permits
Begin by measuring your proposed deck area precisely and noting the terrain — slopes, drainage patterns, and existing structures all affect your design. In most jurisdictions, decks above a certain height (typically 200–300mm off the ground) require a building permit. Contact your local council or building authority early; failing to obtain the correct approvals can result in costly demolition orders.
Check for underground utilities — gas, water, electrical, and telecommunications lines — before any digging begins. Many countries offer free utility locator services that should be used as a matter of course.
Structural Design: Load Calculations and Joist Spacing
A well-engineered subframe is the backbone of any wood decking setup. The subframe (posts, beams, and joists) determines how stiff and safe the deck feels underfoot. Standard residential decks are engineered for live loads of approximately 1.5–2.0 kPa (around 200–300 lbs per square foot). Any deck intended for hot tubs, large gatherings, or heavy furniture should be calculated for higher loads.
Having the right equipment on hand before starting prevents frustrating mid-project trips to the hardware store and ensures cleaner, safer work throughout.
| Category |
Item |
Purpose |
| Measuring |
Tape measure, spirit level, string lines |
Accurate layout and confirming flat, square framing |
| Cutting |
Circular saw, mitre saw, jigsaw |
Crosscutting boards to length and cutting curves |
| Fastening |
Impact driver, drill, hammer |
Driving screws and setting nails efficiently |
| Digging |
Post-hole digger or auger |
Setting concrete footings below the frost line |
| Safety |
Safety glasses, hearing protection, work gloves |
Protecting eyes, ears, and hands during construction |
| Finishing |
Orbital sander, paint roller or brush |
Smoothing surfaces before applying sealant or stain |
| Hardware |
Stainless or hot-dipped galvanised screws |
Corrosion-resistant fasteners that won't stain the wood |
Important: Never use standard zinc-plated screws with pressure-treated timber. The chemical treatment reacts with zinc, causing fasteners to corrode rapidly and leaving dark stain streaks across your deck boards. Always use stainless steel or hot-dipped galvanised hardware.
Step-by-Step: Installing Your Wood Decking Setup
With your site assessed, materials chosen, and tools at hand, the installation process unfolds in a logical sequence. Rushing any stage — particularly the groundwork — undermines the structural integrity of the entire deck.
- Mark Out and Excavate. Lay out your deck perimeter using stakes and string lines. Excavate any grass, topsoil, and organic matter within the footprint to a depth of approximately 100–150mm. This helps prevent vegetation growth under the deck and improves drainage.
- Install Concrete Footings. Dig post holes to below your local frost line depth — typically 300–900mm depending on climate. Pour concrete footings and set post anchors while the concrete is wet. Allow a full 48–72 hours of curing time before loading the footings with posts.
- Erect Posts and Beams. Position and plumb your posts, checking each one with a spirit level in two directions. Once plumb, temporarily brace them. Install beams across the post tops using appropriate joist hangers or through-bolts rated for outdoor structural use.
- Lay Joists. Run joists across the beams at your calculated centres. Use joist hangers at each end for a rigid connection and check that the top edges are perfectly flush — any variation here will cause decking boards to rock or bounce underfoot.
- Allow for Drainage with Board Spacing. Before fastening the first board, establish your spacing gap. For most softwoods, a 3–5mm gap between boards allows water to drain freely and accommodates seasonal expansion. For dense hardwoods like Ipe, a smaller 2–3mm gap is typically sufficient.
- Fasten Decking Boards. Start from the house side and work outward. Pre-drill hardwoods to prevent splitting. Drive two fasteners at each joist crossing — positioned approximately 25mm in from each board edge. Keep the top face of screws flush or very slightly countersunk.
- Trim and Square the Outer Edge. Once all boards are fixed, snap a chalk line along the outer edge and trim to a straight, clean finish using a circular saw with a guide rail. This single step dramatically improves the finished appearance of any wood decking setup.
- Sand the Surface. Run an orbital sander along the deck with 80-grit paper, then finish with 120-grit. Sanding opens the wood grain, removes mill glaze from machined timber, and ensures your sealant or stain penetrates evenly for maximum protection.
- Apply Sealant or Stain. Apply your chosen finish on a dry day when temperatures are between 10°C and 30°C. Work with the wood grain, applying two thin coats rather than one heavy coat. Allow full drying time between coats per the manufacturer's instructions.
- Install Balustrades and Stairs. If your deck is elevated, balustrades are typically a legal requirement above a certain height. Install posts, rails, and balusters according to your local code — minimum rail heights and maximum baluster spacings are strictly regulated for safety.
Board Orientation and Pattern Options
The direction and arrangement of your decking boards significantly affects both the visual character and the structural performance of the deck. Most installers lay boards parallel to the longest dimension of the deck — this produces a clean, classic look and minimises offcuts.
Diagonal patterns (boards running at 45° to the frame) create a dynamic, architectural appearance and are popular in contemporary garden settings. However, diagonal installation requires joists to be spaced more closely together — often at 300mm centres instead of 400–500mm — because the boards span a greater distance between supports. This increases material costs by 15–25%.
Herringbone and picture-frame borders are decorative options that add visual interest but demand careful planning, precise mitred cuts, and additional blocking in the subframe to support board ends that fall between joists.
Pro tip: Always orient boards bark-side up (cup-side up). As wood seasons and dries, boards tend to cup toward the bark side — meaning they form a slight ridge rather than a trough. A ridged board sheds water; a troughed board holds it and accelerates rot.
Finishing and Weatherproofing
Finishing is not optional — it is the primary defence mechanism of any wood decking setup. Even naturally durable species like cedar and Ipe benefit from regular treatment, as UV radiation breaks down the lignin in all timber, causing greying, cracking, and surface checking if left unprotected.
Types of Wood Deck Finishes
Penetrating oils soak into the wood fibres rather than forming a surface film. They enhance the natural grain, are easy to reapply without stripping, and work excellently on dense hardwoods. Tung oil, linseed oil, and specialised decking oils fall into this category.
Semi-transparent stains allow the wood grain to show while adding UV inhibitors and pigment that slow weathering. They are the most widely used finish for softwood decks such as pressure-treated pine and cedar.
Solid stains and paints completely obscure the grain but offer the highest level of protection and the widest range of colour options. They require more thorough surface preparation and eventually need sanding back before re-coating.
Clear sealers preserve the natural look of fresh timber but offer the least UV protection. They are appropriate for covered decks or for homeowners who prefer the weathered silver-grey patina that unprotected wood develops over time.
Ongoing Maintenance of a Wood Deck
A well-maintained wood deck can realistically last 25–30 years or more. The maintenance schedule is not onerous, but consistency is everything — a deck neglected for several seasons in a row may suffer damage that goes well beyond cosmetic cleaning.
- Clean the deck surface twice yearly with a deck wash or diluted oxalic acid solution
- Inspect all fasteners annually and replace any that show signs of corrosion
- Check posts and beam connections each spring after freeze-thaw cycles
- Re-apply penetrating oil or stain every 1–3 years depending on sun exposure
- Clear leaf litter and debris from between boards promptly to prevent moisture retention
- Sand and spot-refinish any areas where the coating has worn through
- Check that drainage gaps remain clear and not clogged with grit or organic debris
- Inspect stair stringers and balustrade posts for signs of movement or rot annually
Common Mistakes in Wood Decking Setup
Even experienced DIYers can fall into predictable traps. Being aware of the most frequent errors helps you avoid them before they become expensive problems.
Skipping the Weed Membrane
Failing to lay a weed suppressant membrane under a ground-level deck almost inevitably leads to vegetation growing up through and between boards within a year or two. A quality woven geotextile membrane is inexpensive insurance against this frustrating problem.
Undersized Footings
Footings that are too shallow will heave during frost events, causing posts to move and boards to buckle. Always dig to below the local frost line depth and use concrete rather than just gravel for elevated decks.
Buying Wet or Freshly Cut Timber
Freshly sawn or kiln-dried timber continues to lose moisture for weeks after purchase. If you install wet boards too tightly together, they will swell and buckle as they dry. Allow newly purchased timber to acclimatise on site for at least 5–7 days before installation.
Neglecting Ventilation Under the Deck
A deck that traps humid air in its subframe will rot from the inside out long before the surface shows obvious damage. Ensure there is adequate clearance of at least 150–200mm between the ground and the lowest joist to allow air to circulate freely beneath the structure.
Frequently Asked Questions
How long does a wood decking setup take to complete?
A straightforward 20–30 m² deck with no elevated sections can typically be completed by two competent DIYers over two full weekends. More complex designs with stairs, multiple levels, or intricate board patterns will extend this timeline considerably.
What is the best wood for a decking setup in a wet climate?
In persistently wet climates, naturally durable options like Western Red Cedar, Ipe, or Cumaru outperform pressure-treated pine over the long term, as they are inherently resistant to fungal rot. Regardless of species, ensuring excellent drainage and airflow beneath the structure is equally important as timber selection.
Can I install wood decking directly on soil?
Direct ground contact accelerates rot even in treated timber and is not recommended for structural members. At minimum, use concrete footings or gravel beds with post bases that lift timber away from the ground. Many building codes prohibit direct soil contact for structural posts entirely.
How much does a wood decking setup cost?
Material costs vary widely by species and region. Pressure-treated pine decks may come in at €60–€100 per m² for materials, while exotic hardwoods can reach €150–€250 per m² or more. Labour for professional installation typically adds a similar amount again on top of materials.
Do I need to seal new pressure-treated decking straight away?
Most pressure-treated timber needs time to dry out before a stain or sealant will properly absorb. Sprinkle water on a board — if it beads up, the wood is still too wet. Wait 4–8 weeks after installation before applying a finish, or check the moisture content with a meter (aim for below 19%).
A Deck Built Right Is Built to Last
Every phase of a wood decking setup — from timber selection and subframe engineering through to finishing and ongoing care — contributes directly to the longevity and beauty of the finished structure. Take the time to plan well, use the correct materials and fasteners, and commit to a regular maintenance routine. Done right, your wood deck will be a centrepiece of outdoor living for a generation.



 English
 한국어
한국어 Español